

Remodeling your kitchen can be a difficult but rewarding process. Here at Fast Cabinet Doors, we want to make your remodel as painless as possible. Most of our doors are unfinished, solid wood cabinet doors, so you won’t have to worry about matching stains or paint over a computer screen! Since the staining is up to you, we’ve written all of our favorite tips, taking into account the grains of the wood, style of door you have chosen, and the stain. We’ll give you a rundown of best practices when it comes to staining grains and panels to make your home remodel project simple!
Stains
Tip 1:
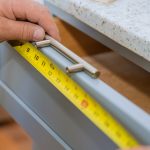
Select the correct stain by taking your door to your local hardware store or paint store. The paint center’s computer will match the stain hue. Please note that sample wood must be the same cut of wood you will be using during the project. It’s crucial that the sample be sanded to the same profile (grit) as well. Most finishers use 180-220 grit depending on wood species. A good paint store will be willing try premixed colors on your sample piece. We recommend bringing a larger sample to give a more realistic idea of what the stain will look like. If you can’t take in a piece of finished wood, bring home stained wood samples and compare them to the existing woodwork.
Tip 2:
There are several types of stains to choose from. In our experience solvent based stains are superior in workability. They have a longer open time which allows you to manipulate stain. It is also critical that you remove excess stain and don’t over apply it! It will create an adhesion problem if you don’t. Think of it this way… stain pigment leaves tiny crushed minerals or rock on your wood. The stain pigment on surface can (if over applied) create a barrier between wood and your clear finish.
Tip 3:
Make sure to add a quality topcoat-finishing product that matches the topcoat finish on the rest of the wood in your home to give your cabinets durability! This also allows you to clean your cabinets. Not all topcoats are equal so make sure to choose a durable clear or perhaps hire a pro?
Grains
Tip 1:
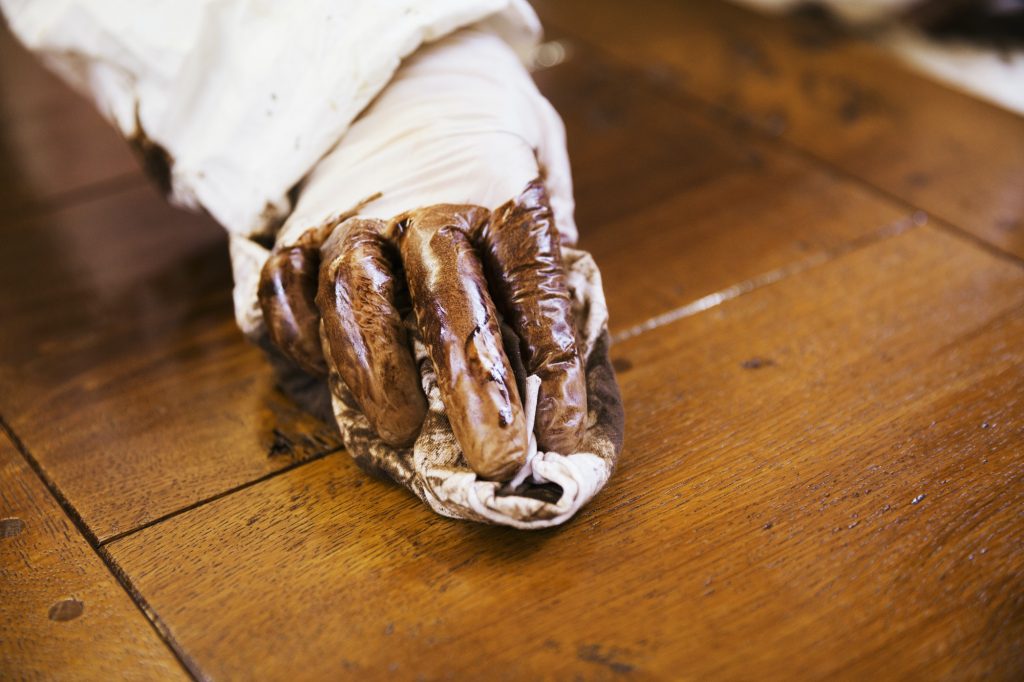
When it comes to staining wood grain, apply the stain using a rag and rub the stain into the wood going along with the grain. Rubbing the stain into the wood permeates the pores and allows for a much deeper saturation. Keep in mind, the stain will darken as it dries.
Tip 2:
You can remove surface scratches that appear during the staining process by sanding the scratch with 220-grit sandpaper while the stain is wet. Stain makes formerly unseen scratches stand out. As soon as you apply the stain, inspect the door carefully. If you find a scratch, fold a piece of 220-grit sandpaper and sand over the scratch in the direction of the wood grain.
Tip 3:
Work your way from the center of the project to the outer edges. For example, if you are working on a cabinet door, wipe the stain in small even strokes starting at the center of the door panel and gradually work toward the frame.
Panels
Tip 1:
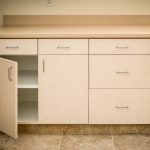
Before you stain the cabinets, it’s important to wait to install or remove all the doors and drawers to make sanding and applying the stain easier.
Tip 2:
Depending on the stain product, drying time can be several hours. Make certain to allow a drying time of 16 to 24 hours before applying any clear finish.
Tip 3:
Keep your workspace free of dust and debris. This ensures that it won’t get on the wood as you stain and either affect the stain or damage the wood. Utilizing drop cloths or painter’s plastic is a great way to prevent unwanted dust.
All in all, ordering new cabinet doors and taking the time to stain them is a great way to get a fresh, new look for your cabinets. It’s easy and convenient and all it takes is a little elbow grease to get a whole new look for your kitchen or bathroom!
If you are opting to pain your cabinets instead of staining, head over to our tutorial on doing just that here!