


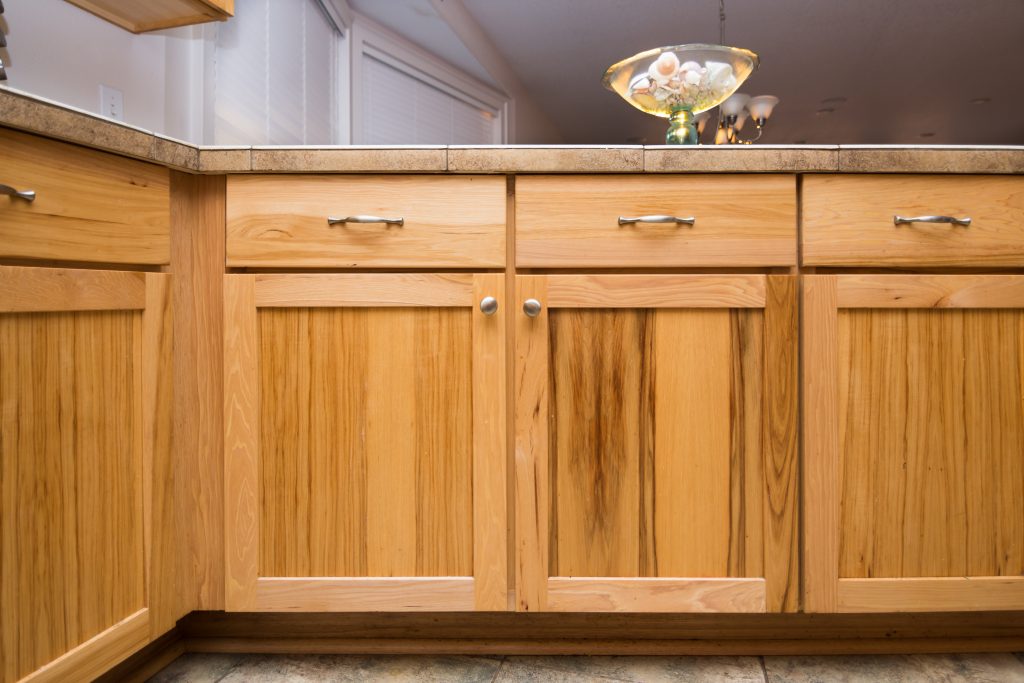
If you’re considering different types of woods and finishes to build your dream kitchen with, you’d be hard-pressed to find a better solution than stained maple. The wood itself has an artful, attractive look thanks to its captivating grain. Using different colors for your maple stain will make it easy to use as the foundation of darn near any style of interior.
With that being said, there are several key components to staining maple wood, and many of them aren’t for the faint of heart. However, if you’re willing to put in the time and make the effort, stained maple wood is an excellent choice for your next set of cabinet doors or drawers.
Interested piqued? Great! Let’s dive in deeper to the world of stained maple wood.
How do you stain maple?
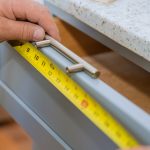
The process of staining maple wood consists of three main steps. But before you embark on the maple-staining journey, you’ll need a few tools to get the job done right. Among these required tools are: wood sealer, stain (preferably oil-based), paintbrushes, clear finish, 220 grit sandpaper and a few handy rags.
As soon as you’ve gathered your equipment, the first step in staining maple is sealing the wood itself. You’ll sand the wood, clear the wood of any residual sawdust, and then completely cover the wood’s surface with sealer. Sealing the wood will help ensure that it has the best resistance possible against water and other natural forces.
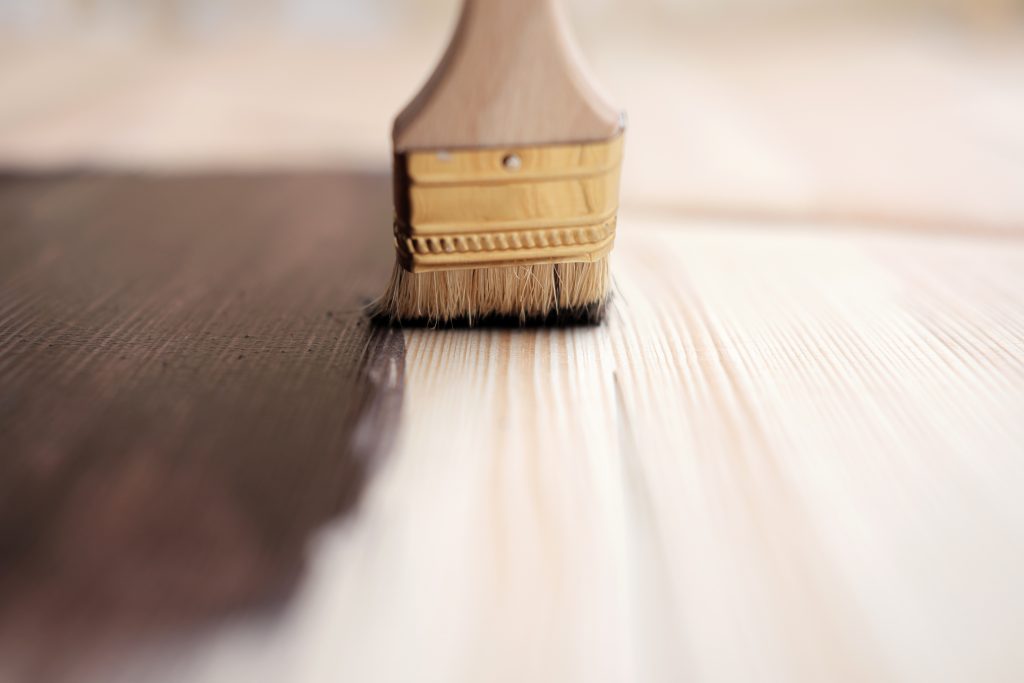
After the sealer has been applied and the wood has dried for a few hours, move on to applying the stain. This is most commonly done by utilizing a paintbrush to evenly distribute your selected stain across the wood. While multiple stain coats can be used to help correct potential blotches, it’s best to limit to three coats if possible.
The final step is quite similar to the first. It’s advised to leave the freshly-stained wood overnight to dry. Sealing the wood once more with a polyacrylic finish is suggested to improve waterproofing. While technically optional, with the time already put in, it makes sense to go the extra mile and get the best protection possible.
How difficult is it to stain maple?
The consensus among most knowledgeable resources on the subject matter is that staining maple is no walk in the park. Staining maple can be a real problem, even for finishers with a lot of experience.
The problem here is that the process of staining is often accompanied by blotches, which will hurt the aesthetic that you’re hoping to achieve. Worse yet, the darker the stain you’re opting for, the worse the blotches will tend to be. If you’re unfamiliar with different seal-coat techniques, you may want to get some practice in on scrap wood first.
There are steps you can take to help minimize blotching when working with a maple stain, such as pre-treating the wood to help limit the penetration of the stain into the wood. But let us reiterate: this isn’t a job for beginners. If you’re planning to stain maple for the first time, come armed with a healthy supply of patience. Be prepared for a significant amount of trial and error.
Several experts will suggest an alternative to staining maple: using a wood dye. Wood dyes incorporate smaller particles that have better luck when it comes to penetrating a thick piece of wood such as maple. When done right, the result is similar to that of maple stain, but with less of a chance of succumbing to blotches.
What are the differences between natural vs. stain?
When weighing your options between natural wood and its stained counterpart, there are a few characteristics to consider. Natural wood, for instance, typically allows for a clear coat finish that serves as an appealing reflection of light. This is perfect for a space that has several windows with natural light pouring in at all hours of the day. Rustic aesthetics often benefit the most from natural wood finishes for its, well, natural appearance.
Modern interiors, meanwhile, have resorted to using stained wood almost exclusively. For one, it’s a solution that offers a compelling combination of durability and affordability. More than that, though, the variety of stain colors available makes this type of finish particularly flexible when it comes to fitting into different design styles. By going this route, homeowners will be free to pinpoint the shade of stain that best suits the look that they’re after.
What is the best stain for maple?
Everyone has their own preference across brands, but when it comes to staining maple, you want to make sure you’re covered in a few important areas. Take a look at the wood conditioning properties, penetration into maple, and color evenness.
Ideally, your stain will preserve the rich color of your maple cabinets, not hide it. But maple is tricky–it can dry blotchy and fade over time with poor treatment or low-quality stains. That is why we’d recommend using a pre-stain conditioner, like Minwax, to first prepare your maple for staining.
Once you’ve applied the conditioner and it has dried, consider a high-quality wood stain like Rust-Oleum’s Varathane. This stain provides a more natural color that looks great on interior cabinets and also penetrates the wood deeper. The great thing about this stain is that it dries quickly–1 to 2 hours in most cases–and looks fantastic almost immediately with no blotching.
Minwax also makes several different stains, including ones that you can use over polyurethane finishes–if simplicity is what you’re after, a stain like Minwax PolyShades would do the trick.
Should natural maple be stained to seal it?
In short, yes. Whenever possible, natural maple wood should be stained. As much of a process as it can be, staining maple wood will go a long way towards fending off imperfections. You’ll also be protecting it from the likes of insects, UV rays, mold and mildew, and rain.
Plus, staining maple wood is akin to taking out an insurance policy on the longevity of your wood’s color. Maple woods are prone to losing the rich accents that make the type so popular over longer periods of time. By staining maple, you’ll be able to reduce the wear-and-tear of your wood and preserve its color long into the future.

When should you stain maple?
Because of the pure versatility it offers when it comes to different shades and colors, stained maple can be a fixture in several different styles. Depending on the door style, finish, and other aspects of the environment you’re working with, stained maple would fit right into styles ranging from traditional to transitional, contemporary and even modern.
The same logic applies to cabinet doors and drawers. Because of its wide-ranging compatibility, there isn’t really a style of door or drawer that would be a bad choice for stained maple. While the staining process is far from easy, there’s a reason stained maple is so sought after. It’s a Swiss Army Knife of sorts, able to adapt to most environments and designs that the everyday person could think to mix it into.