

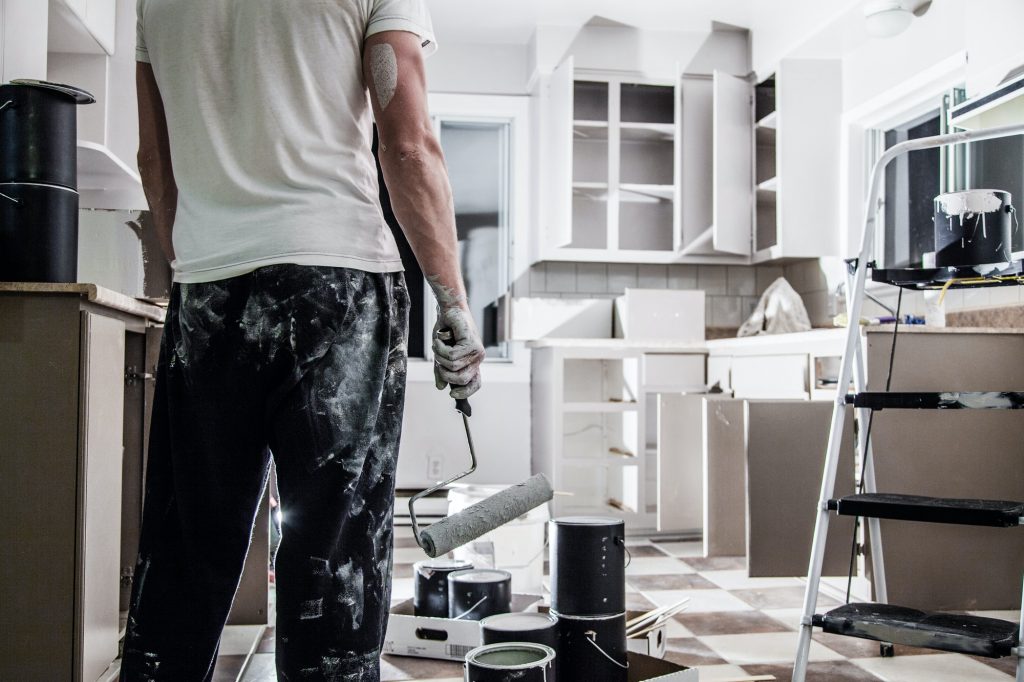
There are those of us who are perfectly comfortable with painting – whether it be for an art project or a home renovation – and there are those of us that are terrified by the very prospect of it. For the latter, we’ve got some good tips for you to become a pro with cabinet paint.
Keep in mind, whether you are painting your existing cabinet doors for an easy refresh, or painting your new doors before you finish your project, be sure to take all the time you need to follow the proper procedures. You will be confident that your finished cabinet doors and drawers will last for years to come.
To help guide you through the process of painting kitchen cabinets, we’ve outlined some tools, tricks and best practices for the project at hand. Whether it’s determining the best paint for kitchen cabinets, learning how to paint cabinets, or learning about tools like a paint sprayer for cabinets, we’ve got you covered.
Let’s get started.
What is the best finish for paint on kitchen cabinets?
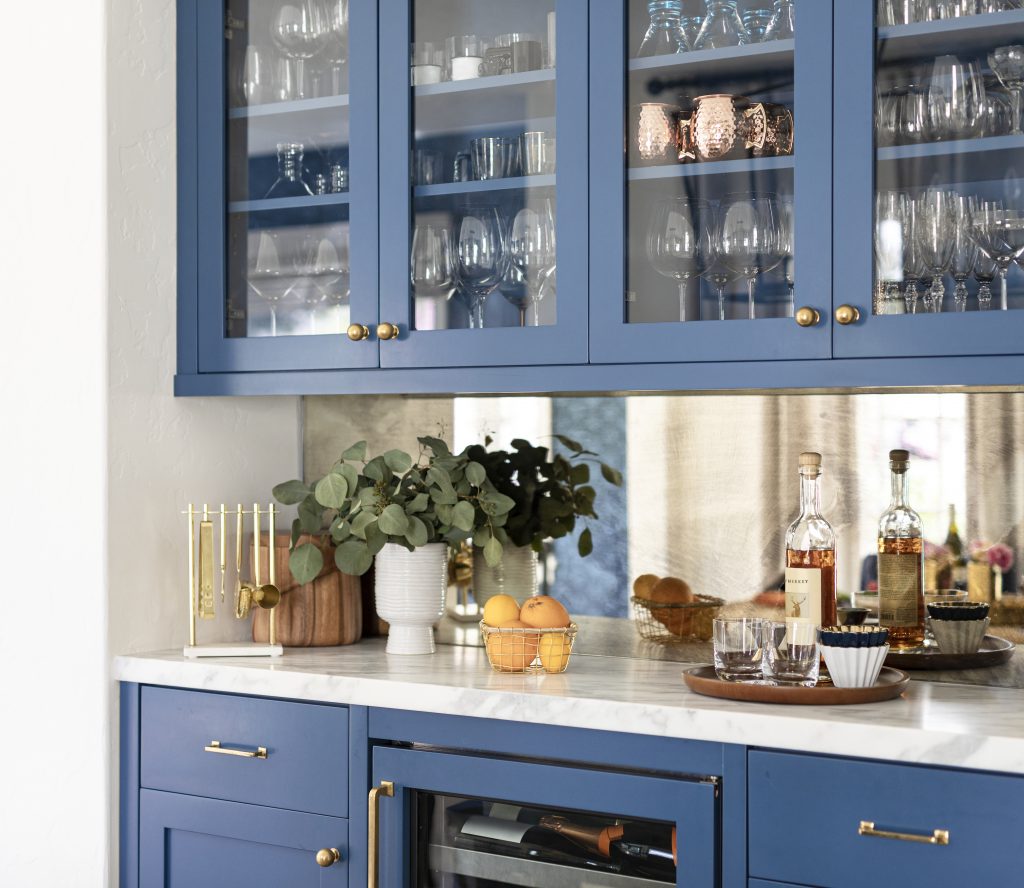
When it comes to finding the best finish for paint on kitchen cabinets, there are plenty of differing opinions floating around the home improvement world. For our money, though, a semi-gloss finish is your best option, bar none.
Semi-gloss paint finish is exceptionally resistant to deformities like scratches, dents and smudges. Combined with its resistance to water and mildew, semi-gloss paint finish becomes a great choice for areas that see tons of use and attention. Plus, you don’t have to worry about damaging the finish when cleaning it. Even when utilizing stronger cleaners, semi-gloss can hold its own.
Semi-gloss finish is also pretty shiny, which can go a long way in standing out and demanding the attention of one’s eye. On the flip side of that, the sheer amount of light that semi-gloss finishes reflect means that you’ll be able to notice whatever blemishes show up on your cabinets or other hardware.
Because of that, it’s important to be especially careful when applying a coat of semi-gloss finish. Harness recommends even brushstrokes and the light use of each coat to avoid potential problems like brushstrokes, streaks or drips on your finished product.
When it comes to where to best utilize semi-gloss finish in a home, the easy answer is anywhere that sees a lot of action or activity. Living rooms, hallways, entryways, doorways, window frames and more are great candidates for semi-gloss finishes. Kitchens, and kitchen cabinets in particular, may even top the list of potential candidates for the finish.
Simply put, a semi-gloss paint finish offers all the qualities you’d want for a finish for your kitchen. From its sheer durability to its compatibility with even the strongest of cleaning products, this is a great choice. While there are cases to be made for other finishes, like satin, it’s hard to look past the highly desirable features that accompany semi–gloss.
How do you paint oak cabinets to hide the grain?
Painting oak cabinets to hide the grain is far from an impossible task. But it’s not an easy (or quick) project to undertake. If you’re thinking of taking on a task like this, be prepared to take your time and put in the work. Rushing a job of this magnitude will only hurt the finished product so, as usual, patience is a virtue.
Some materials and tools you’ll need before undergoing this project include:
- Primer
- Finish Paint
- Fine grit sanding paper or sanding blocks
- Tack cloth
- Paint applicator (Spray Gun/Brush/Roller)
- Drop cloth
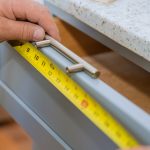
To start, Hendrick recommends removing kitchen cabinet doors and drawers, along with everything else you can think of from your space. Utensils, cookware, appliances – all of it should vacate the premises for the time being as you prepare for this project. Keep in mind that your kitchen could be out of commission for multiple days, so plan your meals and cooking accordingly.
After gutting the kitchen, it’s time to sand down cabinet faces. Fill in the cabinets’ grain and other imperfections with a thin layer of DryDex (or similar spackling). Another round of sanding will follow, with the use of an oil-based primer on deck. You’ll repeat the sanding and primer steps for another round, setting the stage for the final coat of paint.
Before doing that, Hendrick suggests caulking all cracks in the cabinets. This is technically an option step, but it can be important for the longevity of the paint job you’re applying.
Next you will start applying your finish paint by laying a coat of paint with either a brush or a roller. Make sure to get paint into all of the crevices and routed grooves. When using a roller make sure to apply even pressure on each stroke to prevent any roller lines. When using a brush make sure to remove excess paint from your brush as you work to prevent lines of excess paint from forming.
Apply one coat and allow it to dry fully before applying a final coat. After the first coat dries, check it visually and by running your hands along the cabinet door to check for excess paint. Use your sanding paper or block to remove any excess paint or drips and use your tack cloth to wipe down the doors. Apply your final coat using caution to get a clear even finish.
Allow doors to fully cure for a minimum of 48 hours before hanging.
How do you prevent brush strokes when painting cabinets?

When painting kitchen cabinets, painting bathroom cabinets, or painting in general, it’s crucial to avoid brush strokes whenever possible. Brush marks on your cabinets can make an otherwise solid DIY project look like an amateur did it. And trust us, no one wants amateur vibes when it comes to their kitchen’s appearance.
A paint sprayer or foam brush are great options to consider when trying to avoid brush lines. Use standard prep methods of sanding often and adding primer before applying paint. When it comes time to paint, hold the sprayer nozzle 6 to 8 inches away from the cabinet and applying from left to right. After the first coat is dry, you can move forward with a second coat to get as smooth as possible.
A sponge paint roller can also be a useful tool here, allowing the user to apply the paint on a cabinet door in a flowing, up-and-down manner. The nature of the sponge itself will help minimize any potential for brush lines.
What is the best paint for cabinets?
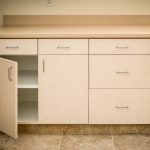
When painting new cabinet doors it is important to use the correct type of paint. We recommend working with a non-blocking high quality paint and avoiding latex paints. Latex paints are too soft and will lead to a “sticky feeling.”
A solid choice for kitchen cabinets is a selection from Sherwin-Williams, such as its Emerald Urethane Trim Enamel. The paint is intended to give your cabinets that coveted smooth, luxurious finish. It even utilizes a water-based enamel to create a durable finish. If you’re after paint that can competently resist the wear and tear that comes with a well-used kitchen, this is the paint for you.
As an additional tip when painting, try to keep your workspace free of dust and debris as much as possible. It can negatively affect the paint layers by settling and drying into freshly laid paint. Utilizing drop cloths or painters plastic is a great way to prevent unwanted dust.
We hope this was helpful and answered any questions you may have when painting your cabinet doors. The only thing for you to do is pick out your kitchen cabinet paint colors and get started!