

Repainting your kitchen cabinets is a terrific way to reinvigorate the room. But what if you don’t have traditional wood cabinets, and instead have laminate? It’s not uncommon for first-time remodelers to wonder: Can you paint laminate cabinets? We’re here to tell you that the answer is yes! But there are several specific steps and key points you’ll want to know before you begin painting laminate cabinets. We will go over them in this article and soon your kitchen will be looking brand-new!
Laminate is a terrific option for cabinets, especially in the kitchen. The doors get high amounts of usage on a daily basis. Laminate cabinets tend to be lighter, which puts less wear and tear on the hardware. And modern laminate surfaces are hardy, tough, and durable–plus they look great. One of the downsides to them, however, is they are much trickier to paint than wood. However, this does not mean that painting laminate cabinets is an impossible task! It does mean that you will have to be much more precise and careful. You’ll need to choose the right tools for the job, take your time, be thorough, and plan well. Most importantly: make sure you’re using the best paint for laminate cabinets.
Benefits of Painting Laminate Cabinets
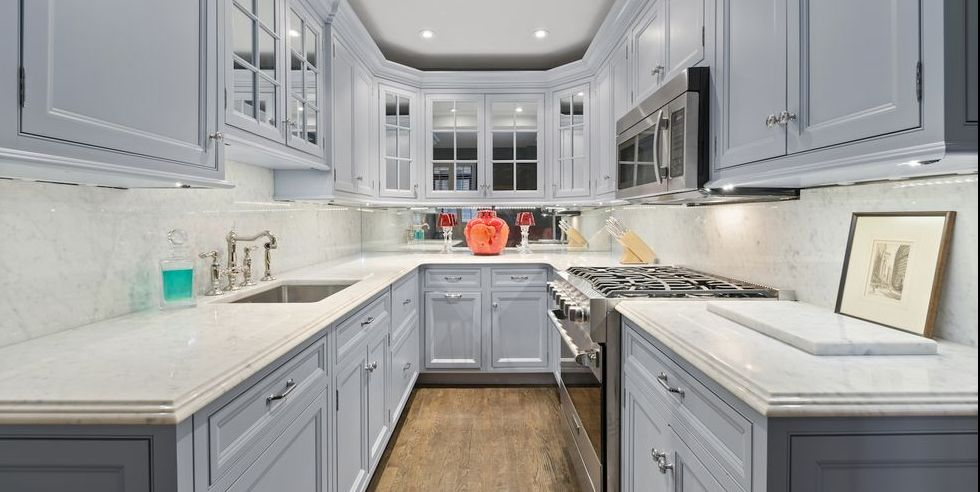
The major upshots of painting laminate cabinets are looks and longevity. A coat of premium quality paint on laminate cabinets will last anywhere from 8 to 15 years, depending on usage. Considering the relatively low cost of this project, that is a huge payoff! With the right preparation and proper materials, you can transform laminate cabinets. They will be an eye-catching staple of the room for years to come. If you adequately prepare your cabinets for painting first, you will find that they will hold their quality exceptionally well. A decade later, many often report that they still look as good as the day the paint dried.
We’re going to try to help you achieve that experience in this article.
Are Your Cabinets Wood or Laminate?
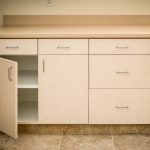
First things first, you’ll want to know the material you’re going to be painting, of course! So how do we distinguish between wood cabinets and laminate cabinets? It’s not as easy as one might think! Many cabinet manufacturers (like us!) specialize in creating a realistic solid wood appearance on multiple surfaces. However, there are some giveaways that even the untrained eye should be able to spot (tip of the hat to Busby Cabinets on these):
- Investigate the edges of the cabinet doors. Solid wood has visible end grain on the tops and bottoms of the doors. On laminate, you’ll be able to see a more unnatural, longitudinal wood grain. That’s because of the edging process and material that laminate uses. (Of course, if you are buying brand-new cabinets, even the most convincing laminate cabinets won’t fool you!)
- Check out the corners: Laminated cabinets don’t cut quite the same way wood does, especially around cabinet corners. A shaped or rounded corner is usually a telltale sign of a wood cabinet. A sharp, squared corner is likely an indicator that you have laminate cabinets.
- Gauge the gouges. A nick, chip, or gouge in a wood cabinet will reveal…more solid, unpainted wood underneath the surface. In laminated cabinets, you’ll be able to see the particle board or plywood at the core underneath the laminate finish.
Tools and the Best Paint for Laminate Cabinets
Unlike wood, laminate cabinets are not porous, which makes the surface of these cabinets difficult to paint without thorough sanding. There is a shortcut, if you are feeling so inclined. But for the most part, you’ll want to sand and clean your laminate surfaces well before painting. You’ll need:
- 180-grit and high-grit (300+) sandpaper
- High-quality primer
- High-quality paint. Choose latex or oil-based depending on the primer you chose, as choosing the wrong paint will result in disaster! Deco Art Satin Enamels is a popular paint for cabinets.
- Foam roller or sponge to apply primer and paint
- Proper ventilation (always consider a mask when working with paint)
- Small nylon paint brushes for cornering and smaller details
- Painter’s tape
You’ll also want to gather a few household items you likely have on hand. Plastic baggies and Post-It Notes, as well as a Sharpie, will help for organizing and labeling your hardware and cabinets. Remember also that you’ll be sanding down laminate, not wood. It often has gashes or dings that may require you to replace the cabinet. You can putty and sand wood, but should probably replace laminate if the gouges are too deep.
Can You Paint Without Sanding?
The short answer to this question is, in most cases, going to be no. Laminate is a non-porous surface. That makes it difficult for paint and primer to bond to with the exception of the tackiest stuff out there. Some people absolutely loathe sanding, and will go to great lengths to avoid it. That is why the method of using chalky finish paint might be attractive. But really, the best results will come from pre-sanding your laminate cabinets thoroughly to prepare them for painting. By scuffing up the surface of the laminate, you give the primer a better, more adhesive surface to bond to. That in turn will ensure more complete, professional-looking coverage of your final paint job.
The sanding stage is also a good time to investigate the state of your laminate. Remember, laminate cabinets are essentially plywood or particle board, surrounded by a higher-quality finishing layer. That layer’s bond to the cabinet itself may come loose over time, especially around screw holes and hinge points. If your laminate is coming up, use wood glue to reinforce the bond between your laminate and the cabinet. Then let the glue set and dry, and then begin the sanding process.
All that said: Some people truly do not want to sand their cabinets. We strongly recommend that you complete the sanding process thoroughly when painting laminate cabinets. However, we will also include some recommendations for paint choices if you decide to try your luck with a non-sanding approach. Fair warning: Many who go this route find that the longevity of their paint job is not what they expected. They need to do frequent touch-ups. If longevity is what you are after, then doing the sanding and priming first will be the way to go.
What Not to Do
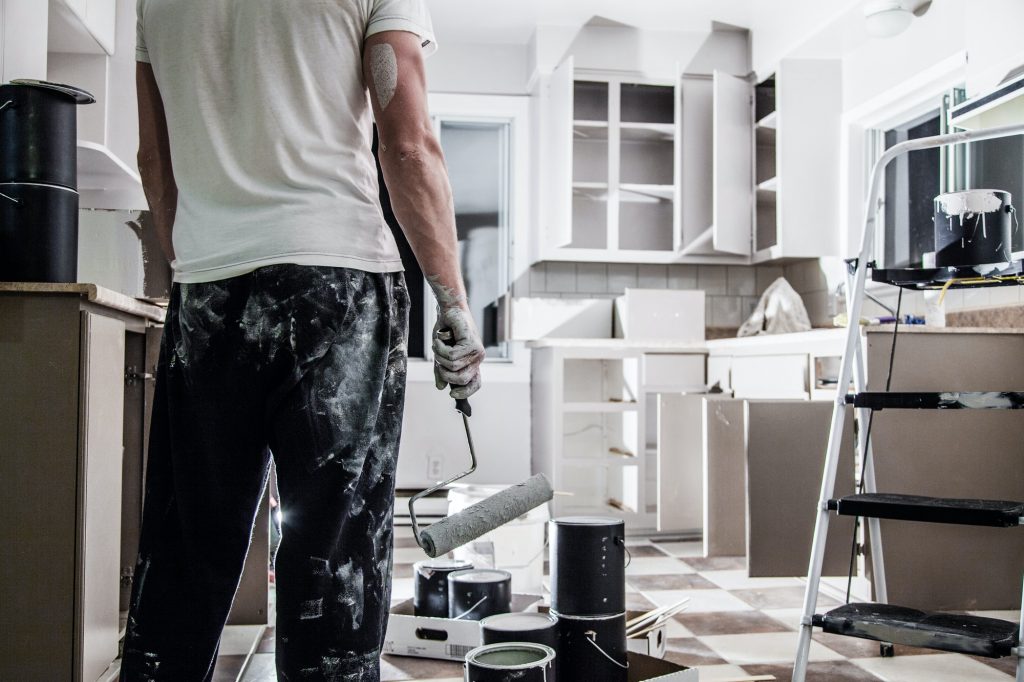
DON’T HURRY! Before you start, commit to taking your time. Painting laminate cabinets is not a job you can rush through! It is in your best interests to thoroughly clean your cabinets and maintain that cleanliness all the way through installation. This is especially true if you are painting kitchen cabinets, which may have years of exposure to grease and grime. Be sure to wipe away all the gunk and residue that may be on your cabinets (Bob Vila’s classic recommendation is to use trisodium phosphate), then rinse with clean water and immediately and completely dry the cabinets.
DON’T OVERLOOK PAINT AND PRIMER! Laminate is not going to work with the same primers and paints that wood does. You should not treat your laminate cabinets as if they are wood. Choose the proper items for the job; the best paint for laminate cabinets will be highly adhesive. Sanding will help create a rougher surface that will bond better. You’ll still want to choose a strong-enough bonding primer to stick to laminate, plus oil- or latex-based paint (after curing). There are laminate-specific paints, too; specifically, chalky finish paints can go on first instead of sanding and priming, and will bond to laminate very well. You’d then sand that down and finish with paint of your choosing.
DON’T USE A BRUSH! That’s right–again, remember that you aren’t painting onto wood grain. Laminate won’t absorb the brushstrokes the same way wood would. Even the best nylon brushes will leave brushstrokes! We’d much rather see you go with a roller, paint pad, or even a sprayer. This will help you avoid streaks when painting laminate cabinets.
How to Paint Laminate Cabinets
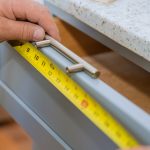
- Remove the cabinet doors and hardware. When you do this, either use Post-It notes or some other temporary labeling method. This will help make sure that your doors and hinges all go back where you got them from. Ensure that everything fits properly when you go back to reassemble. Some are fond of using separate containers, like plastic baggies, to keep all hardware in the proper place. Whatever works best for you to stay organized, just don’t lose track of which doors and hinges go where.
- Clean and prepare the cabinet doors. Remove any debris or dust from your cabinet doors. Then, get them ready for sanding, sealing, and painting. Clean and dry the doors using a lint-free rag or towel to dry them. Then, begin to either sand or apply chalky finish paint, depending on your preference:
- Sanding: Using a rougher grit sandpaper, sand the laminate so it will better bond to the primer you use. Be careful not to over-sand the area, since laminate surfaces are typically very thin. They are durable and will hold up to minor wear in your kitchen. However, it is very easy to sand down too much of the surface and ruin it. Once you have sanded your laminate cabinets, use a clean, dry cloth to remove debris.
- Chalky finish paint: This is for the sanding-haters. If you really want to avoid sanding, you can lay on a chalky-finish paint that will adhere well to laminate. It’s quite thick, so be sure to apply lightly and carefully to avoid it pooling. Pay attention to areas where your cabinet might have decorative edges or recesses. Once your chalky paint later has dried completely, sand it down with fine-grit sandpaper. You want to achieve a smooth finish for painting over.
- Paint. Use the foam roller, sprayer, or paint pad. Smoothly and evenly apply the proper paint depending on if you primed or pre-painted your laminate cabinets. You should strongly consider sanding after your first layer of paint dries. This will help remove minor embellishments or signs of pooling in the first coat. Once all coats have dried, you still need to handle your cabinets carefully! Most indoor paints take up to 30 days to fully cure.
- Reinstall your cabinets. This is where you’ll thank yourself for organizing your hardware and labeling your cabinets! Carefully reattach your cabinet doors using the original hardware, or new hinges and screws if you decided to replace them. Take great care not to scratch, scuff or otherwise damage the great new paint job you just applied!
Job Complete!
Once you have finished these steps, take a moment to admire your finished product! An outstanding-looking, chip-resistant finish that will beautify your kitchen for years!