

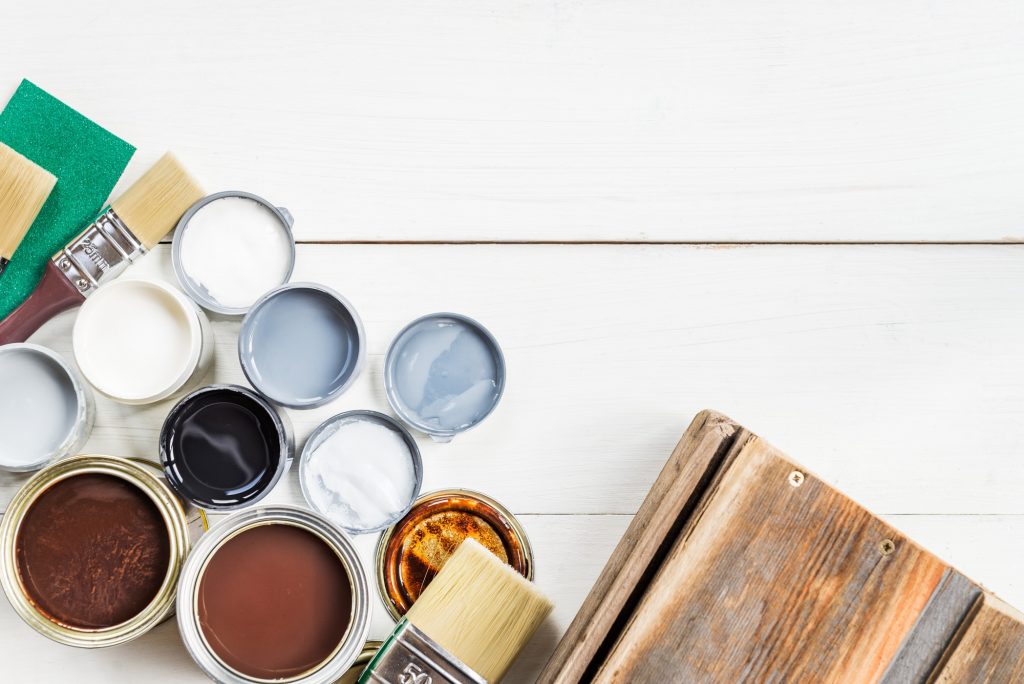
Whether you should paint or stain comes down to the style of your new kitchen and your personal preference. Both paint and stain have a wide variety of options and looks. If your kitchen theme is more natural or Italian, incorporating earthy colors and stone tiles, the natural wood grain look of stain will be a beautiful complement. If your kitchen is more modern, matching smooth metallics with warm neutrals and bold accents, a semi-gloss paint can be used to highlight your cabinetry or tie the theme together. Here are the processes for each to help you decide which you’d rather use for your kitchen.
How to Paint Kitchen Cabinets
1. Choose the Right Paint
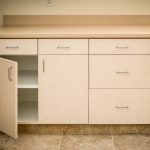
Different paints are appropriate for different cabinet materials. Check the paint labels for instructions. Wood cabinets are the best for painting, but you can sand and paint virtually any surface. Laminate cabinets will need a bonding primer made for laminate. It’s best not to paint laminate that’s in poor condition. Paint that’s made specifically for cabinets will provide the best results with a smooth finish, but other high-quality paints will work too. Use acrylic, latex-based paint and follow the manufacturer’s instructions for cure time. Semi-gloss or satin finishes give a nice sheen that’s easy to clean but won’t show imperfections as easily as high-gloss.
2. Prep the Cabinets
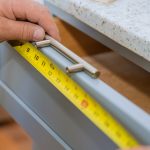
Be ready to spend a few days on this project and get the right safety gear. Find out if your paint could be lead-based by using a testing kit. If you can’t find out and your home was built before 1978, assume it’s lead-based and wear the proper PPE. Painted cabinets in good condition can be painted over, otherwise, you will have to strip them before continuing (see below for instructions). Empty the cabinets and remove the doors. Clean all surfaces and repair damage with wood filler or the appropriate material. Fill hardware holes only if you don’t plan to reuse them. Sand all surfaces and clean the dust off. For a detailed post on how to prep for paint, take a look at this post.
3. Paint
Prime cabinet boxes starting at the back and working forward with even strokes working into the wet primer. Use a brush for corners and details and a mini roller for large surfaces. Go over surfaces without reloading your roller to remove excess primer. Prime doors one side at a time, starting in the detailed areas and working towards flat surfaces. Make sure the primer doesn’t pool in corners and details. If you’re painting sides and insides of drawers, take care to lay a thin, even layer to prevent sticking on the drawer rollers. Use a high-quality brush and foam roller to apply two coats of paint using the same techniques when the primer is completely dry. Allow the paint to cure completely after each coat. Install hardware and reassemble your beautiful new cabinets.
How to Paint Kitchen Cabinet Doors Without Brush Marks
It’s important to use the recommended technique when painting your cabinets to avoid leaving unsightly brush marks everywhere. Start with a small, high-quality brush in the detailed areas and corners, being careful to apply only a thin layer with no drips or buildup. Feather the primer outward towards the flat surfaces. While corners and details are still wet, use your roller on the larger surfaces and blend towards the feathered edges you made. Be sure to go back with an unloaded roller to remove excess and check for buildup and drips before allowing the paint to cure. Apply each thin layer with this technique and you’ll have an even, streak-free finish.
How to Paint a Bathroom Vanity Cabinet
Bathroom vanity cabinets are painted the same way as other cabinets, except that there’s typically much more interior space to deal with. If you want your cabinet interior to look as professional as the exterior, you’ll need to take more time sanding, priming, and painting the inside of the cabinet box.
How to Stain Kitchen Cabinet Doors
1. Choose Your Stain
First, consider if your wood needs to be stained or if it just needs a protective clear coat. Some woods, like cherry, are often left unstained because of their naturally beautiful color and grain. If you do choose to stain, choose a stain that complements the room and the wood. Lighter stains can make the room feel open and airy while darker stains can make the room feel cozy and warm. Stains also have tones, so match your stain to your color scheme before getting started. Oil-based stains are heavier and won’t raise the grain but have a strong odor. Raised grain is an effect of absorption that causes the wood to feel rough to the touch. Water-based stains have a lighter smell but require sanding to minimize raised grain. You can also find gel stains and two-in-one stain and sealants. You can find a wide variety of general finish gel stain colors that are great for splotch-prone woods because they sit on top rather than get absorbed into the wood.
2. Prep the Cabinets
Take the doors and drawers off the cabinet boxes and remove the hardware. You’ll need to stain the inside of the doors, but you may choose to skip the inside of the cabinet boxes. Clean the wood with trisodium phosphate diluted with water according to the manufacturer’s instructions. Let the cabinets dry completely before continuing. Remove any existing stain or finish by sanding with medium-grit sandpaper in the direction of the grain or by applying a chemical stripper with a paintbrush and letting it soak for about half an hour. You can then remove the finish with a scraper or putty knife, being careful not to gouge the wood, which will be softened by the stripper. If your cabinets are intricately detailed, you may need smaller detailing tools. Apply two thin coats of pre-stain wood conditioner and remove any excess, drips, or buildup with a clean cloth.
3. Stain
Apply the stain with a medium paintbrush around the frame and drawers and on one side of the doors at a time. Each additional coat will darken your stain. Start with a thin coat and build up to the shade you want. Allow each coat to dry and sand lightly before applying the next coat. Minimize raised grain when using water-based stain by dampening the wood with water before sanding in between coats.
4. Finish
Use a clean, medium paintbrush to apply your sealer or varnish when the stain has dried completely. This step will enable your stain to last for years and make it easier to clean greasy soils from your cabinets. Be sure to follow the manufacturer’s instructions for the finish you choose. When the finish is completely dry, reassemble your cabinets, install your hardware, and enjoy your kitchen’s new look.
Can you stain over paint?
Yes, you can stain over paint, but you’re not going to create the same look you would get from staining the wood directly. Stain over paint creates a unique lacquered look with rich undertones and streaks that are typically used to mimic antique wood by using a brush with rough bristles. Staining over paint is generally suitable for smaller projects, but it can be a low-cost option for your kitchen. Be aware that unsealed wood putty or flat sheen paints will turn noticeably darker.